Cucina Naturale
I like good food
About
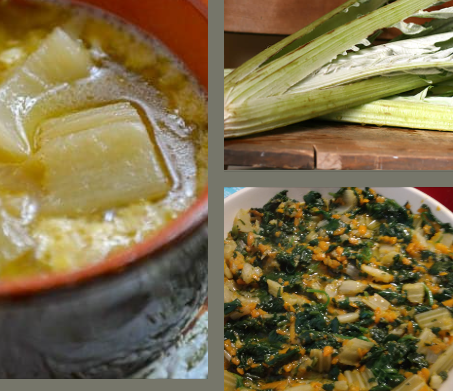
Cardone (cardoons) with carrots and spinach
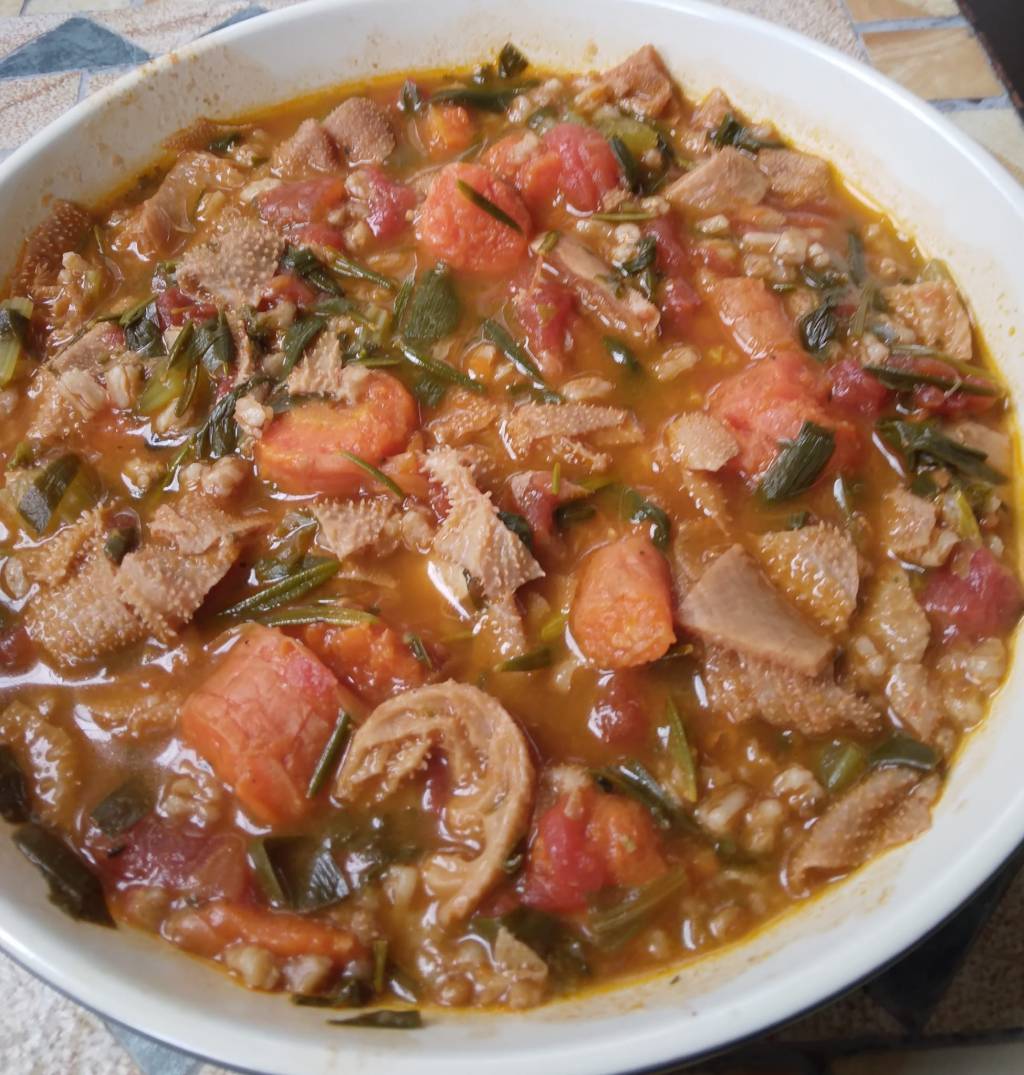
Italian menudo (tripe and farro)
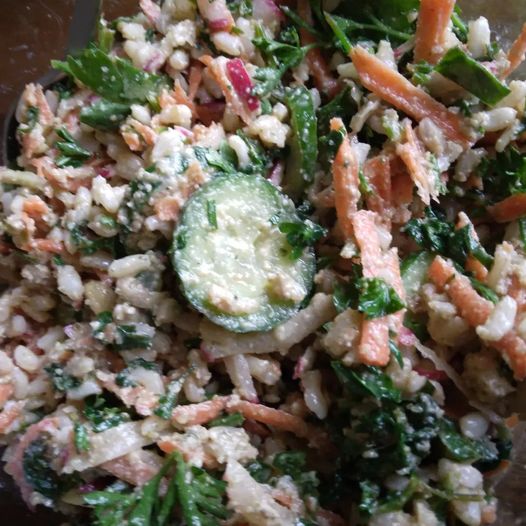
Cooled brown rice salad
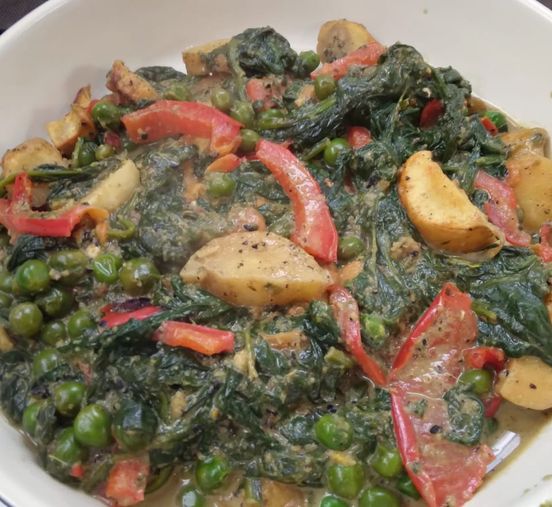
Indian inspired veggies
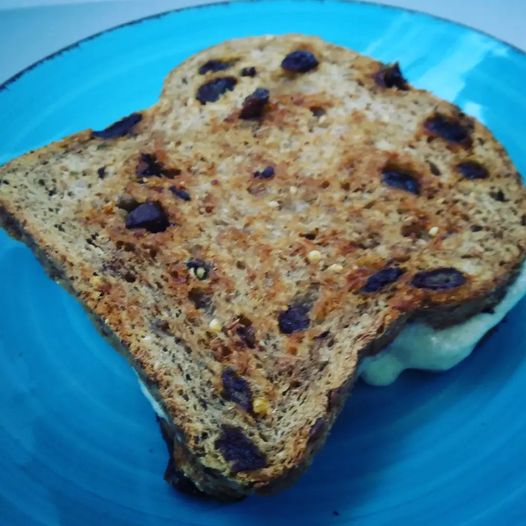
Grilled cheese. Childhood comfort reinvented
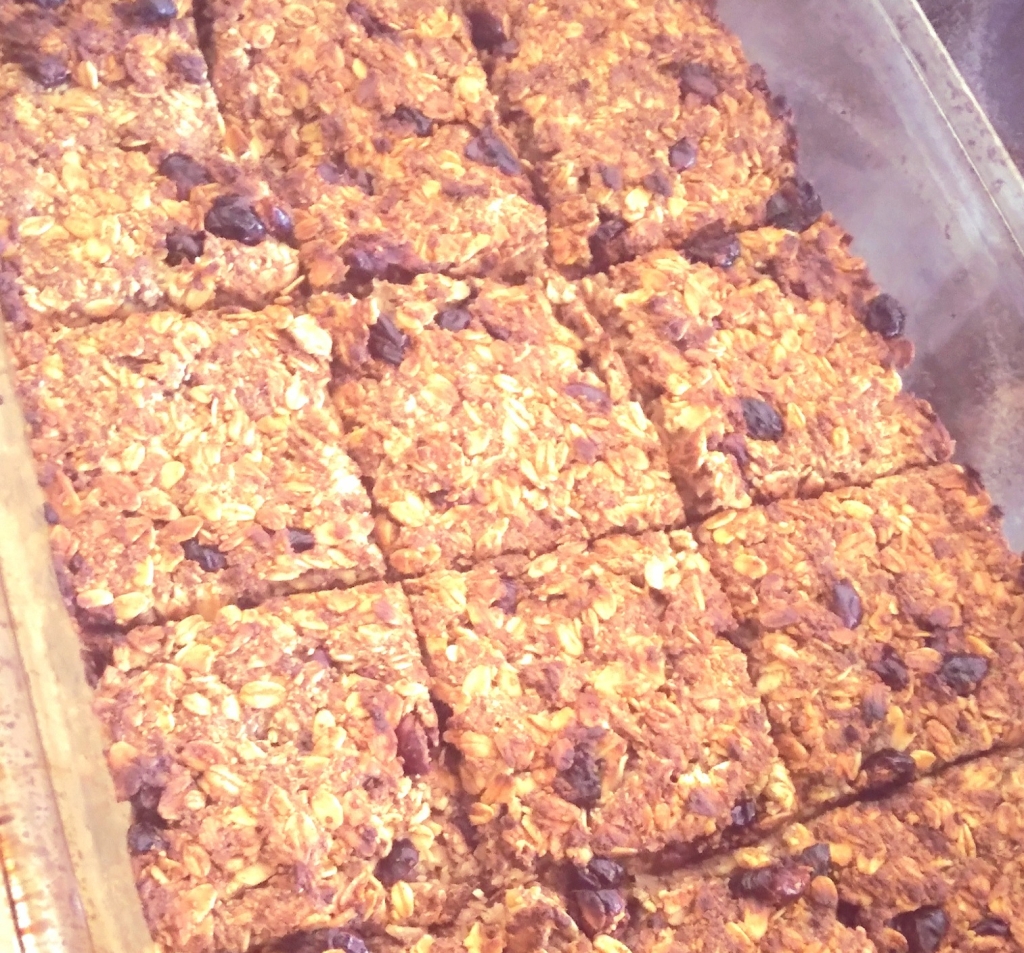
Oat bars
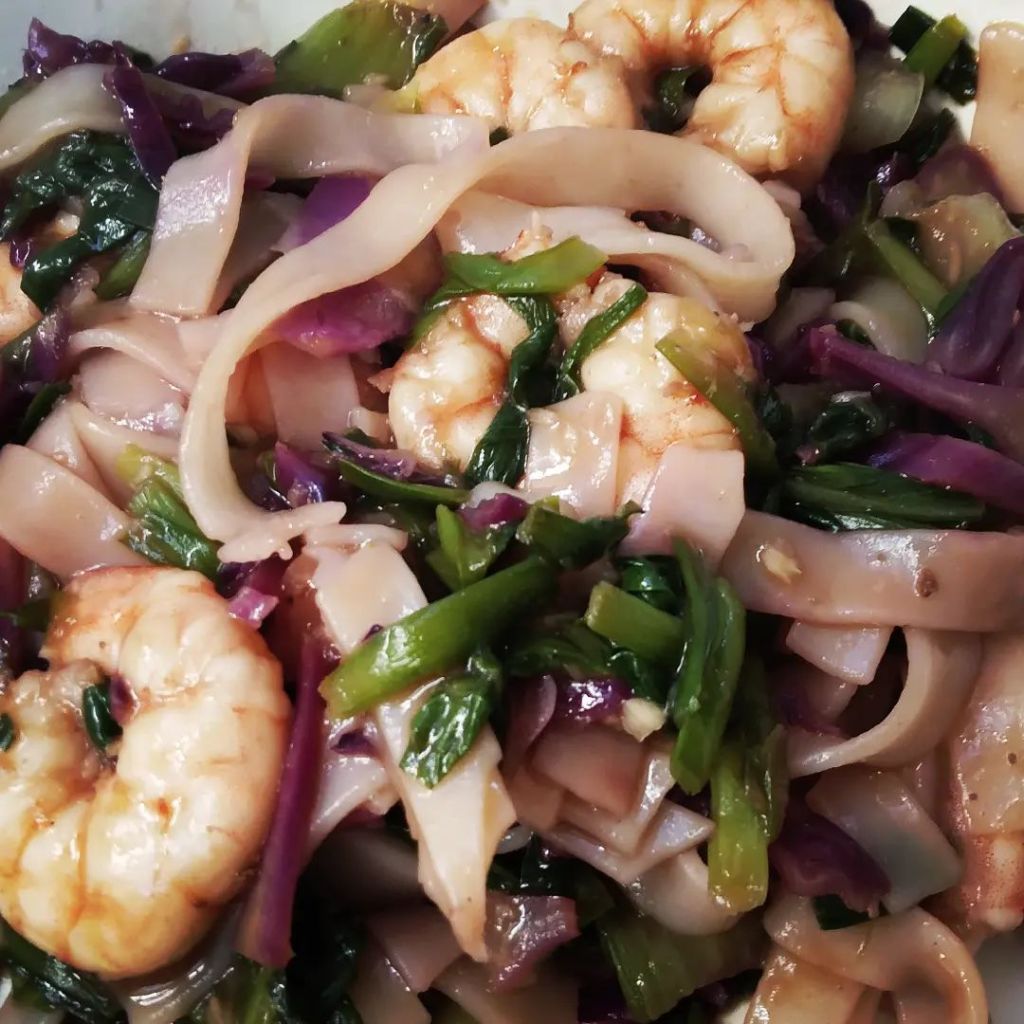
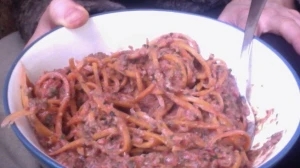
Shrimp lo mein inspired yumminess
Plantain cinnamon bites
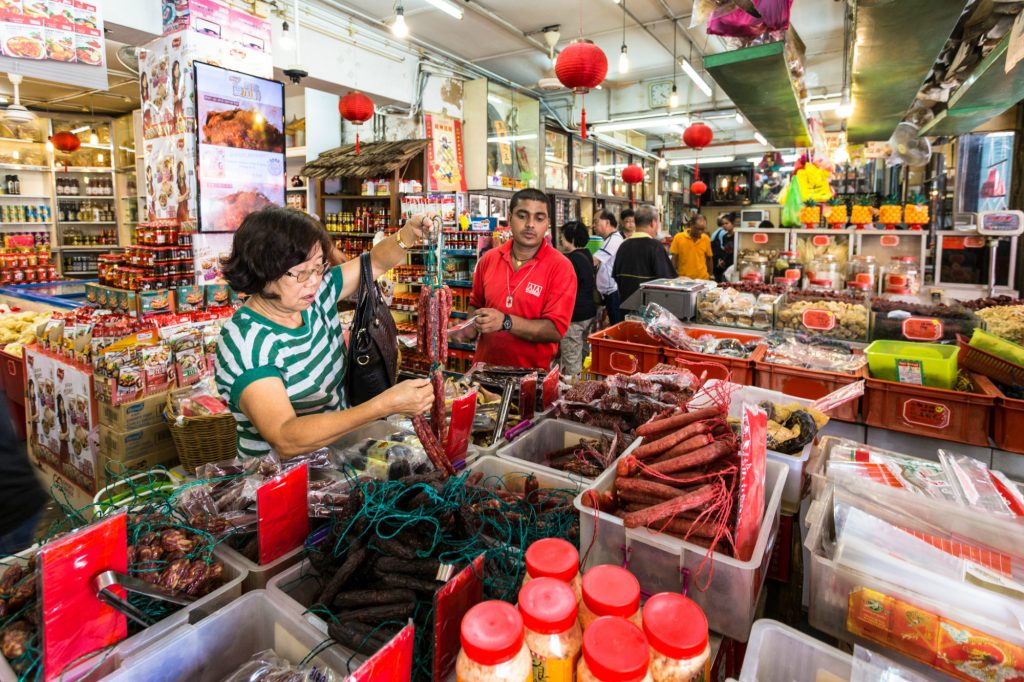
Asian markets
Eggplant, pea, tomato warm salad
Magnolia flower tea (pick your own tea)
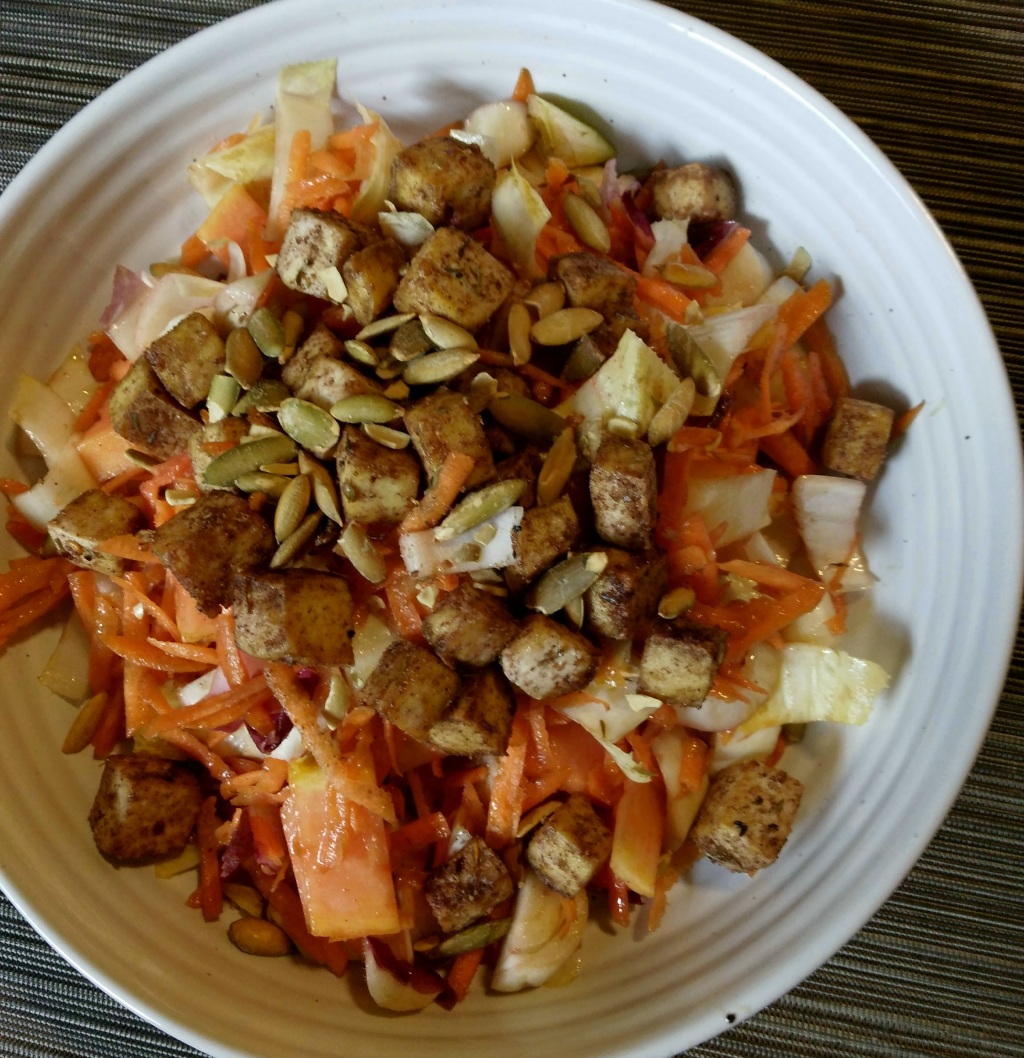
Endive salad with baked tofu
Natto bean salad packs a punch
Pasta e fagioli. Italian comfort revisioned for spring.
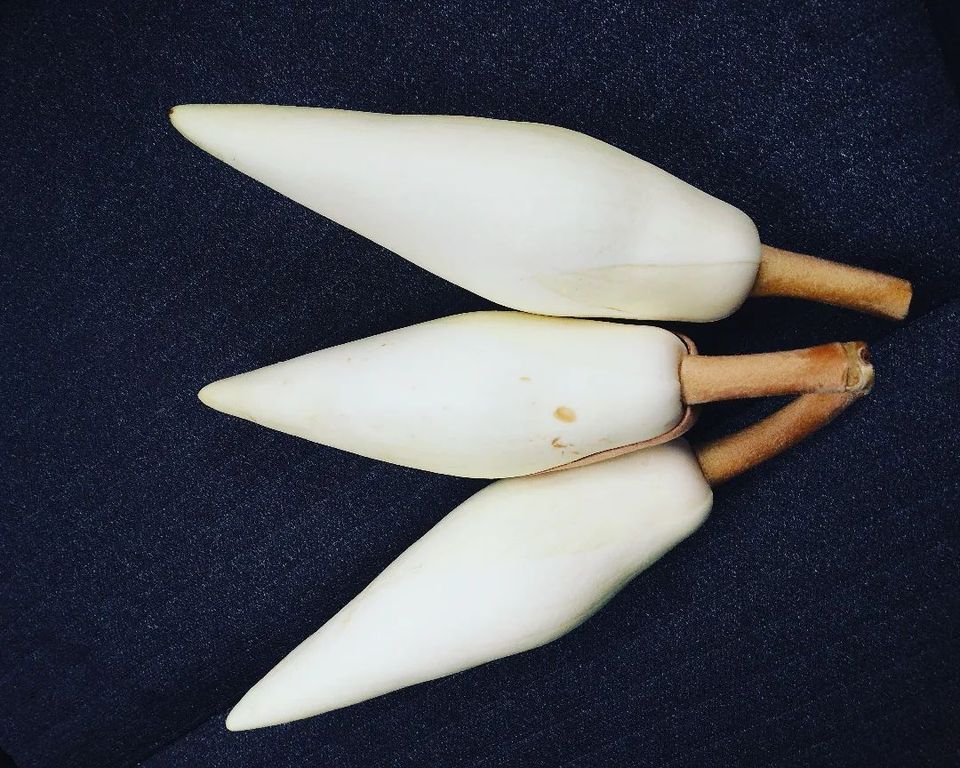
Roasted lotus seeds: medicinal, healthy, snack recipe
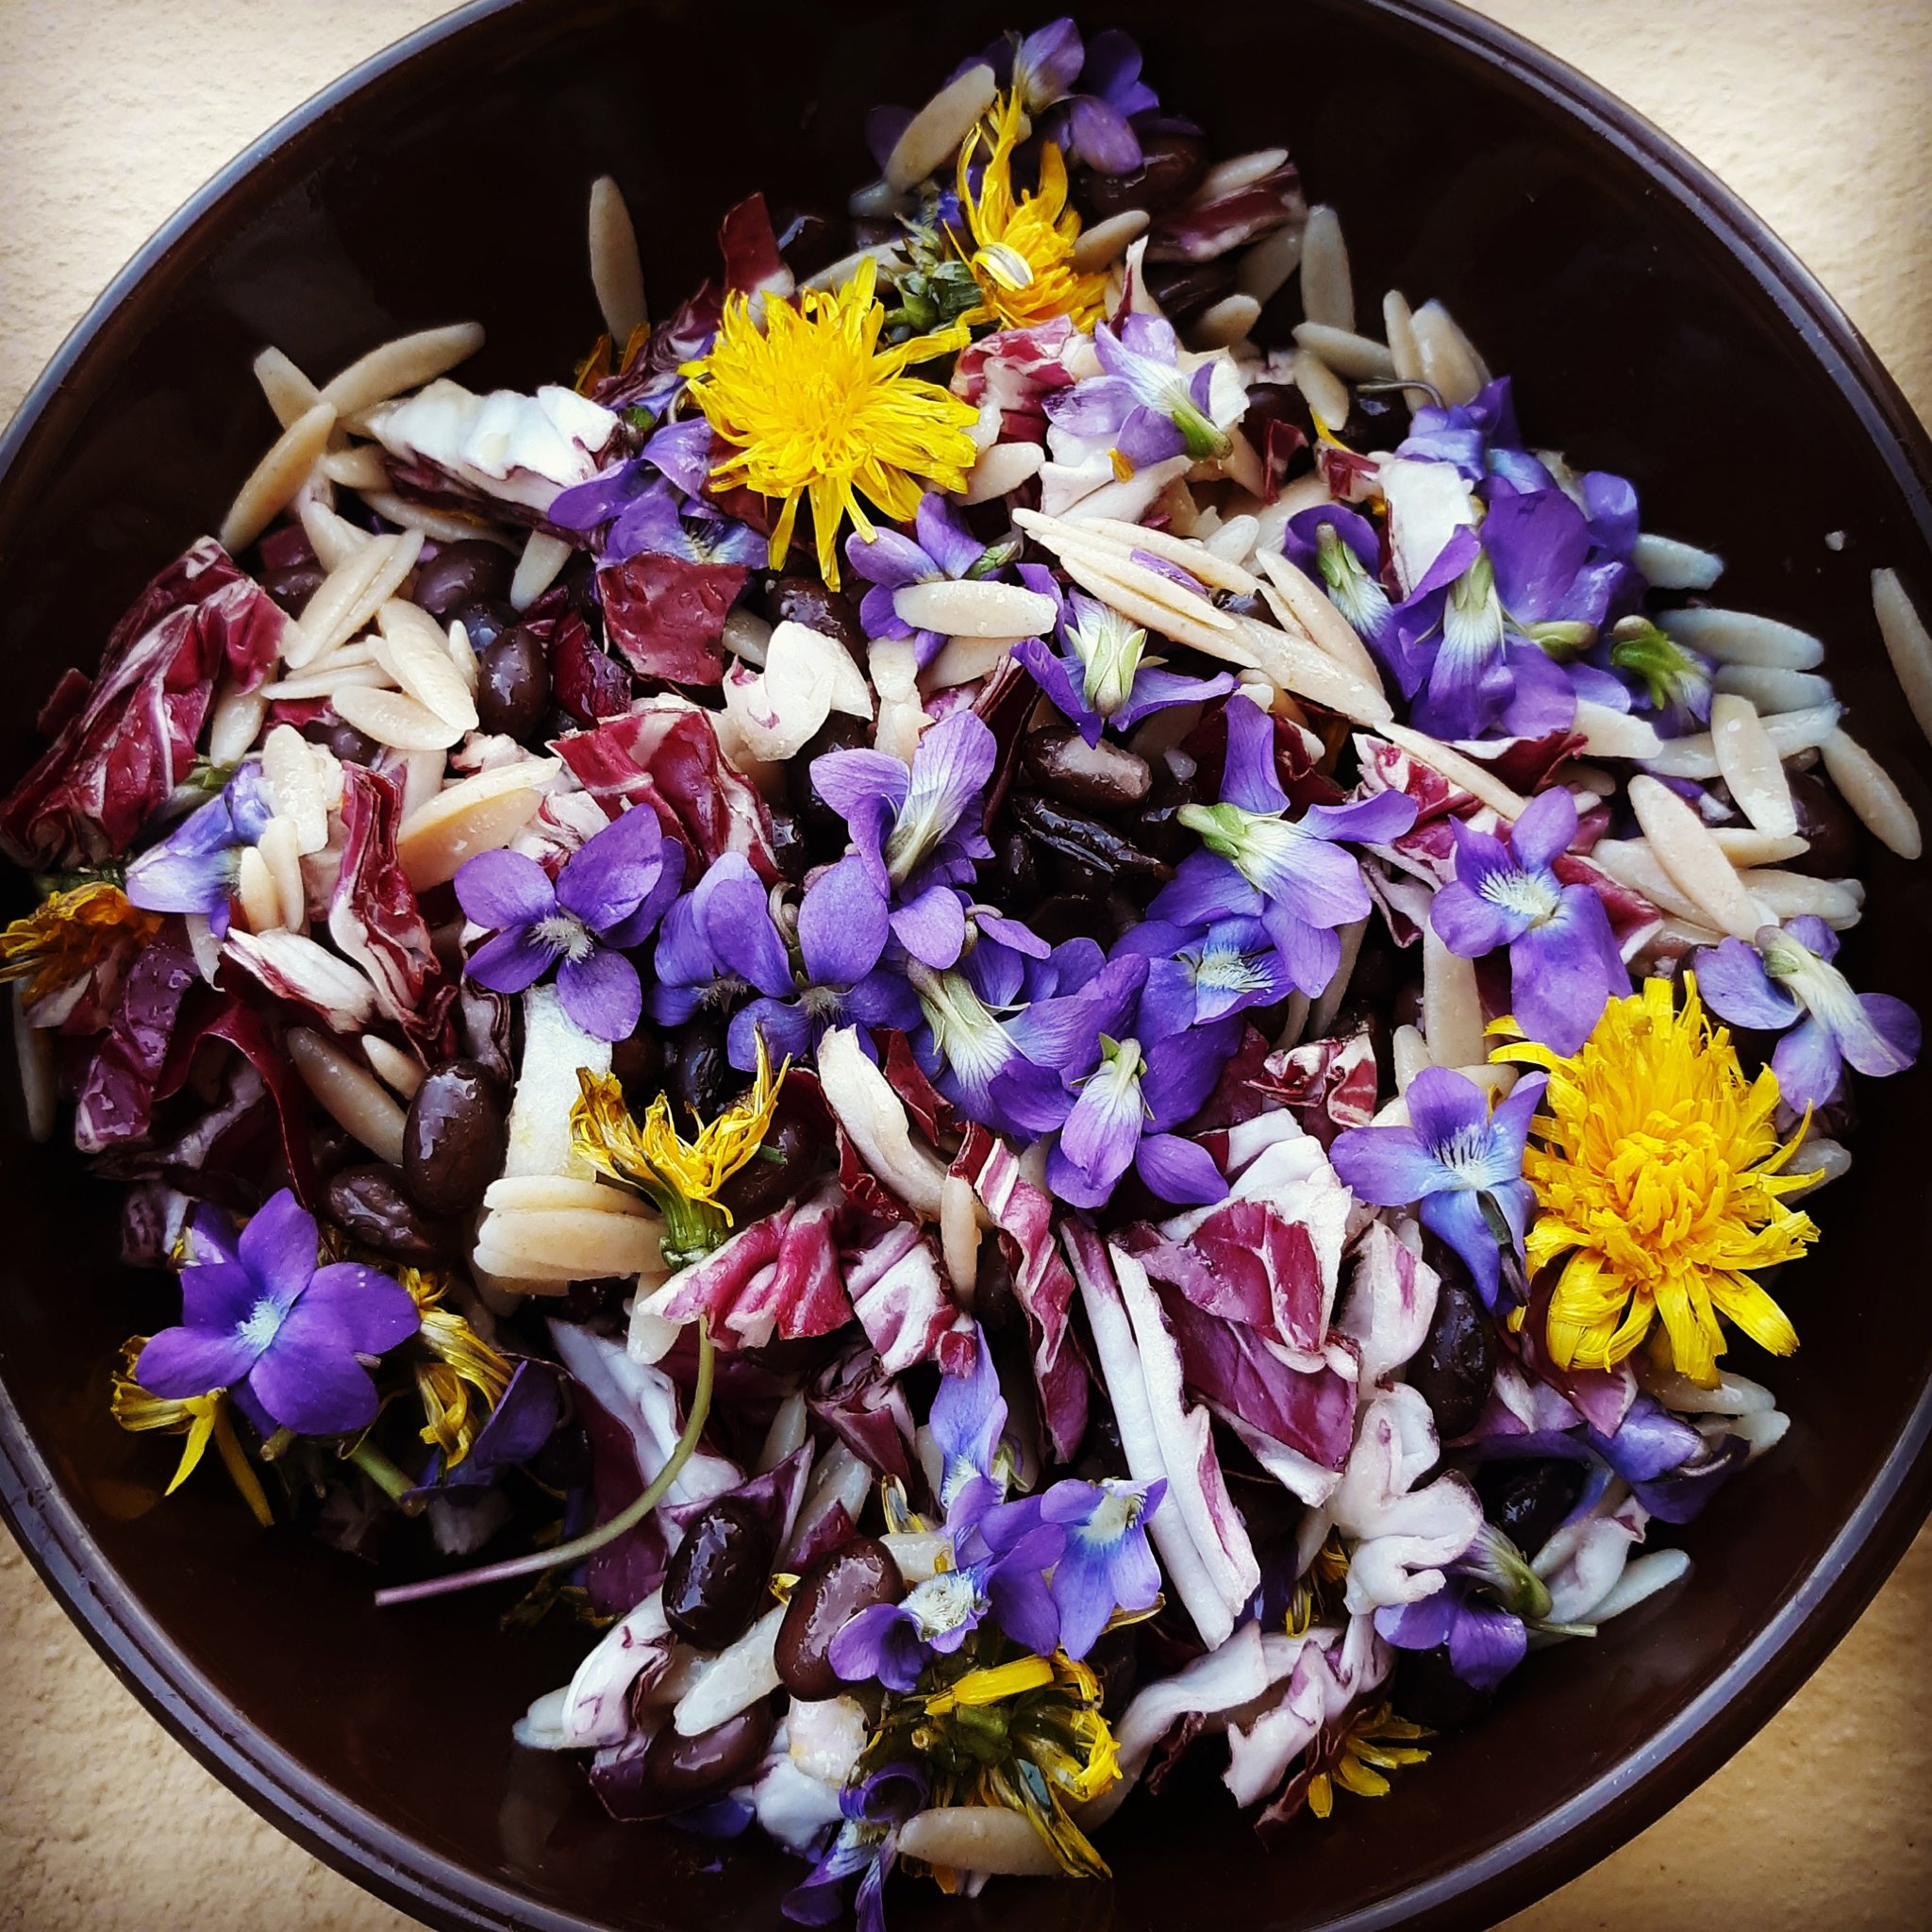
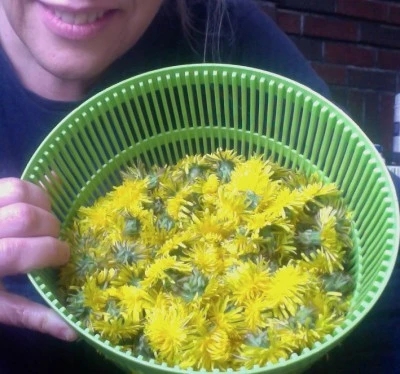
Wild food harvest: dandelion flowers
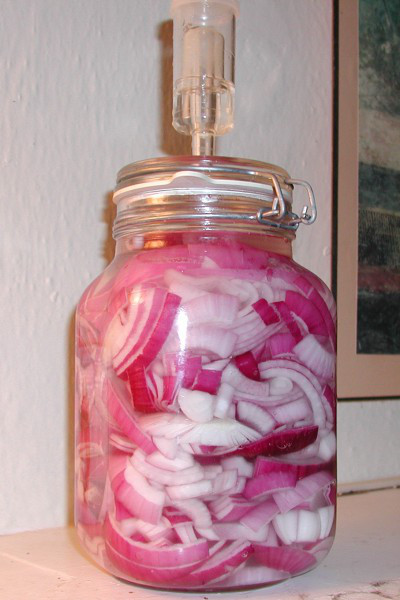
Pickled onions: fermentation is a way to get probiotics naturally
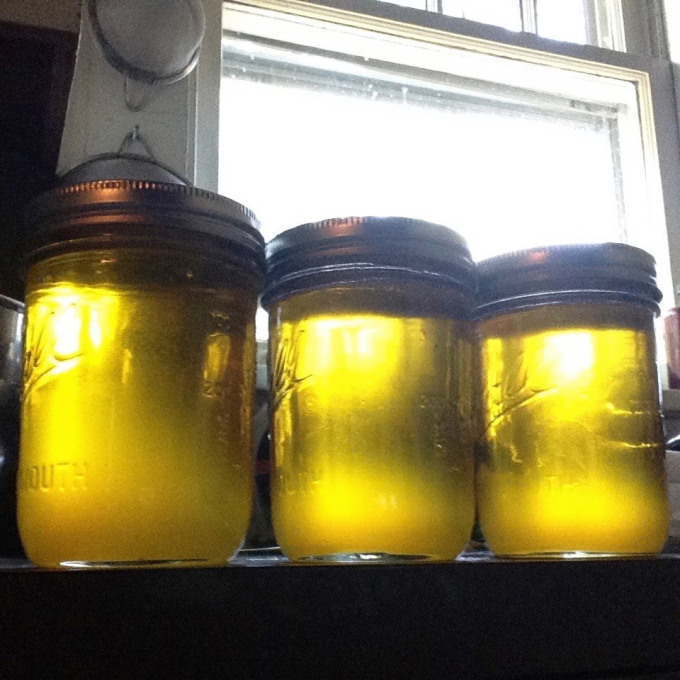
Homemade ghee (clarified butter)
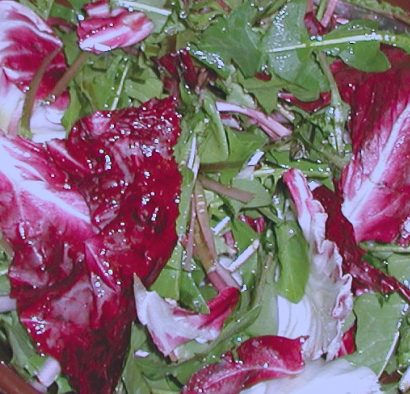
Wild dandelion and radicchio salad
Mango cheese cake (raw, vegan, paleo and OMG yummy)
Salmon on a bed of parsley, garlic, burdock root and artichoke hearts
The middle way to eating (intuitive eating)
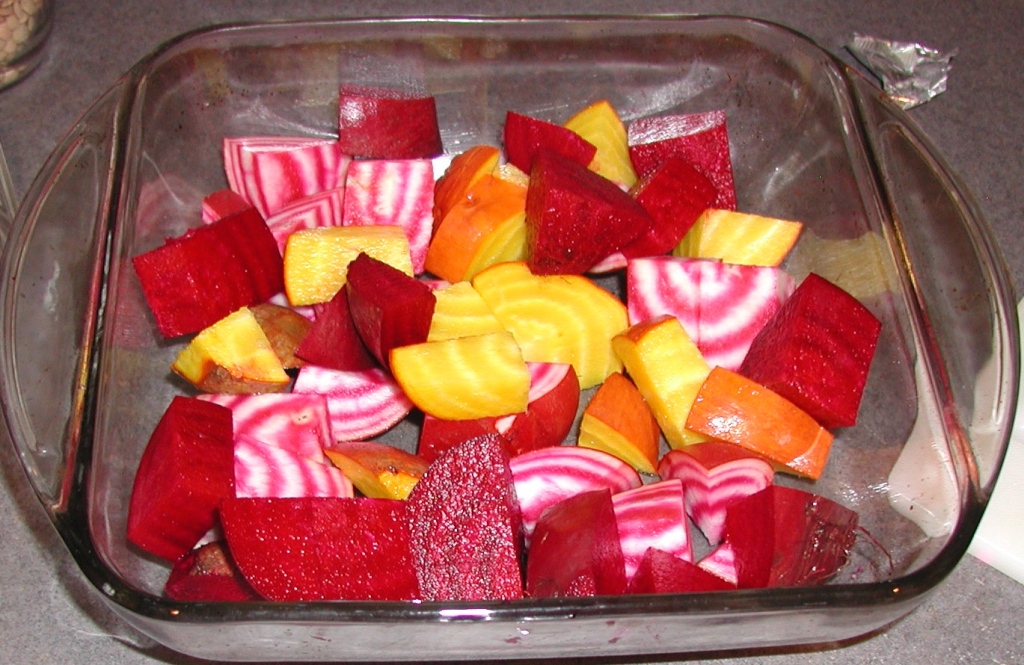
Multi-colored beets with cilantro and hemp seed pesto
Butternut squash pasta — grain free, vegan, tomato free (oh my)
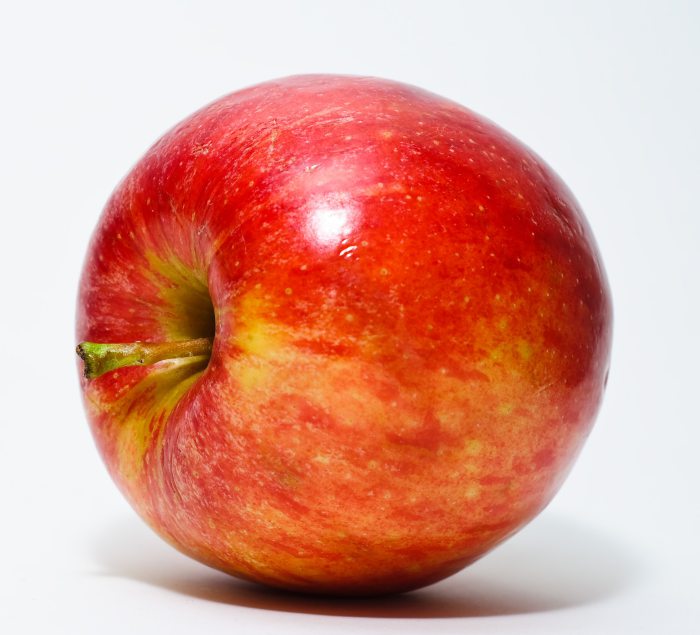
Apple, caramelized onion and ginger chutney
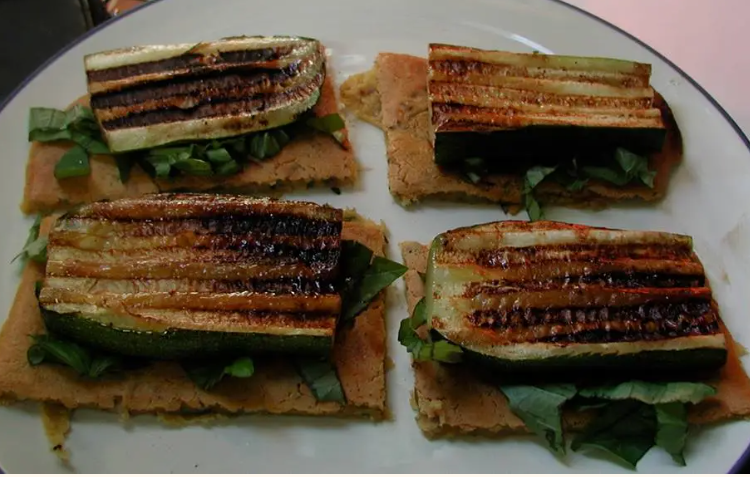
Socca flat bread with cilantro pesto (grain free)
Sweet potato “grits” (paleo & grain-free)
Sweet potato chips (fried in coconut oil) homemade not so bad “junk food”
Socca – (Farinata) — grain free, flat-bread
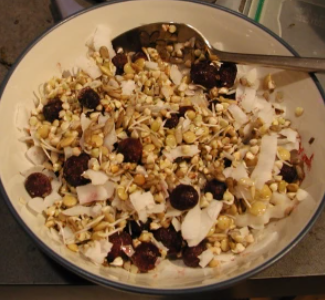
Homemade grain free granola
The green juice that looks pretty darn red…
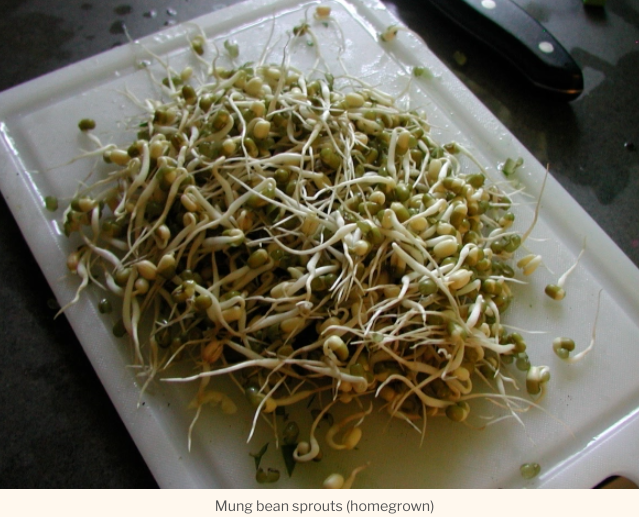
Mung bean sprouts (easy to do at home!)
Soba 100% Buckwheat (gluten free) with bok choy, hemp seeds, garlic and ghee
Apple, fennel and wild dandelion salad
Sprouting beans and seeds…
Spaghetti squash alfredo (vegan and grain free)
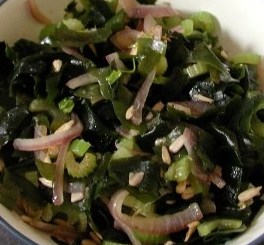
Seaweed salad
Amaranth greens with hemp seed milk curry
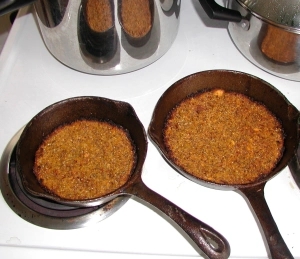
Fresh turmeric and fresh ginger (roots for your health)
Creamy butternut and hemp seed soup
Christmas meal for two…
Liver and onions with other goodies too
Nori fish wrap
OMG Good, “spaghetti” and spaghetti sauce for the nightshade (tomato) free and grain-free eater
London broil, kale and butternut squash…a menu and how to do it
Eat it don’t tweet it!
Raisin pumpkin bread in a 8 x 8 cake pan (grain free, sugar free)
Thanksgiving dinner for two
Make Kombucha (info and links to get you started)
An early experiment in non-dairy and non-grain land…
Creamy and rich roasted garlic soup with greens
Merry Christmas…dinner for two…
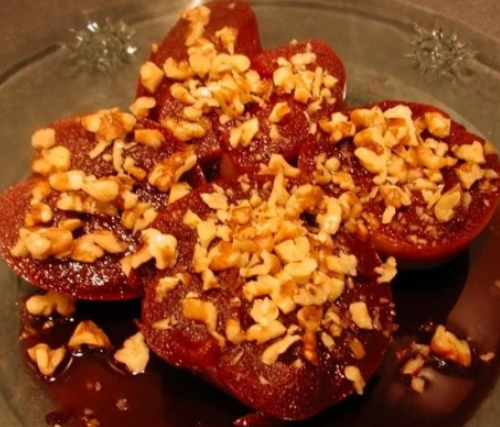
Holiday red wine poached apples
Ginger cookies – light and delicious, naturally
Roasted brussels sprouts
Baba Ganoush
Coconut lemon chicken
Cilantro and parsley pesto on mung bean noodles (vegan and gluten free simply by accident, I’m neither)
Winter multi squash soup with tahini
Roasted beet salad with mint and feta goat cheese
Clam and asparagus chowder
Hot banana salsa
Chicken cooked in a yogurt based curry
Local Asian/Mexican fusion: Hickory Nut Gap chorizo with mung bean noodles
Basil from the garden to a bowl of pesto pasta
Herbed, cream of cauliflower soup
Gazpacho soup…getting into the spirit of summer a little early
Sicilian dandelion soup — my interpretation
Baked calamari with cornbread crumbs (cornbread recipe included)
Sweet potato falafel over salad greens
Beef brisket roasted with garlic and onion
Rye and muesli raisin nut loaf (or brick)
Chicken, bacon and other delightful stuff thrown over pasta
Pistachio chicken
Spaghetti all’Amatriciana inspired this…but it’s a different dish now
Pork Stir-Fry
Simple yellow squash with tomatoes
Creamy potato soup
Cinnamon and spice meatballs (over chard)
Ground turkey and polenta casserole — distinct Italian flavors
Sweet potato salad
Slow roasted cuban pork
Two variations of fancy mac and cheese
Roasted Beet Salad
Enchilada casserole
Tarragon Chicken with goat cheese
Oil cured olive pesto on spaghetti
Creamy onion potato soup
Gourmet turkey meatloaf
Whole grain rosemary shortbread
Egg drop soup — favorite Chinese soup is so easy to make at home!
Festive winter root veggies
Bison stew with fennel and goat cheese
Minestrone
Chicken liver pâté
French lentil coconut curry
Spaghetti alla puttanesca
Pumpkin custard
Roasted lemon basil chicken
Frozen chocolate mousse
Simply calamari
Pumpkin goat cheese casserole
Lentil soup with bison sausage
Pumpkin soup and roasted pumpkin seeds
Pulled chicken in the crock pot
Lamb shanks in tomato and rosemary with polenta
Baked chicken slathered in pesto and lemon zest
Moussaka (eggplant and lamb casserole)
Red wine poached apples
Lentil and hemp seed loaf
Pureed Borscht
Creamy chicken soup
White bean hummus with cilantro
Rainbow chard with pinenuts and cranberries
Privacy & Cookies: This site uses cookies. By continuing to use this website, you agree to their use.
To find out more, including how to control cookies, see here:
Cookie Policy
Subscribe
Subscribed
Cucina Naturale
Join 84 other subscribers
Sign me up
Already have a WordPress.com account?
Log in now.
Cucina Naturale
Edit Site
Subscribe
Subscribed
Sign up
Log in
Report this content
View site in Reader
Manage subscriptions
Collapse this bar